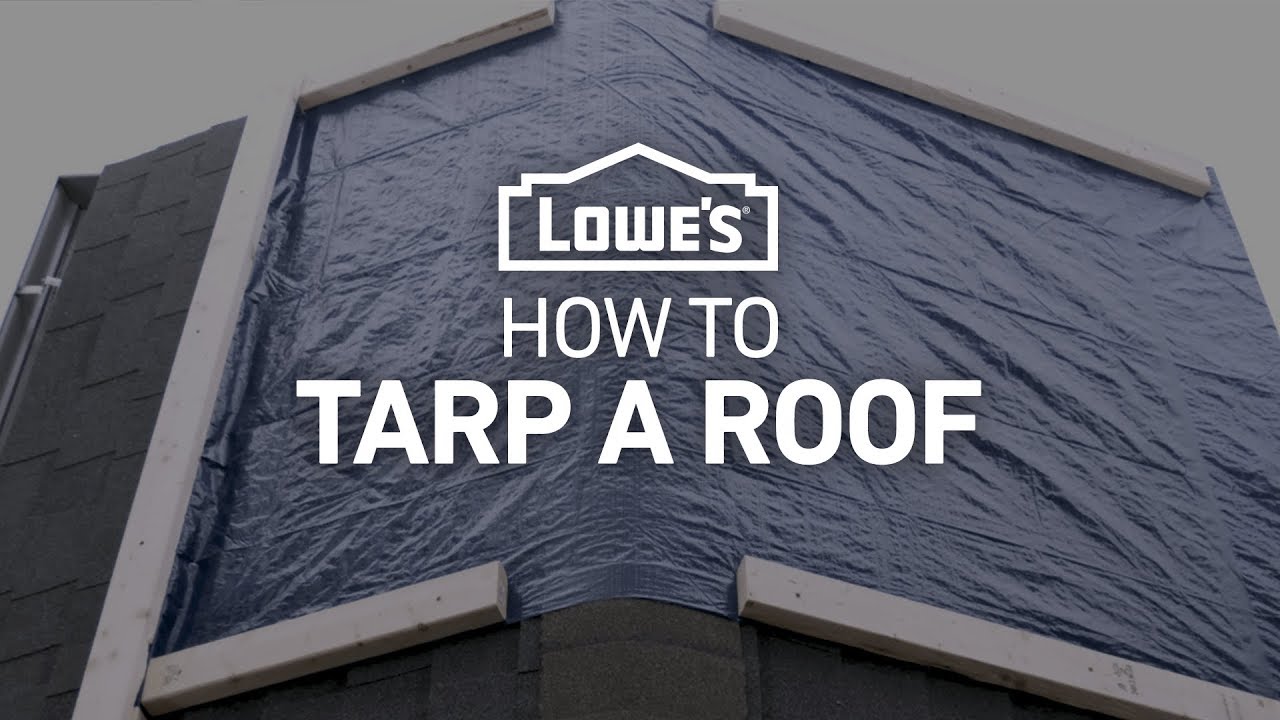
How to tarp a roof 3 lesson three.
How do you secure a tarp to a roof.
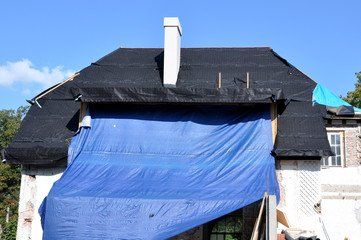
The boards that are attaching the tarp to the roof are known as anchor boards.
To begin securing the tarp screw through the rolled 2 x 4 boards with your screw gun.
Time to make sure everything is off the roof secure the final strapping used in step 5 every 8 to 12.
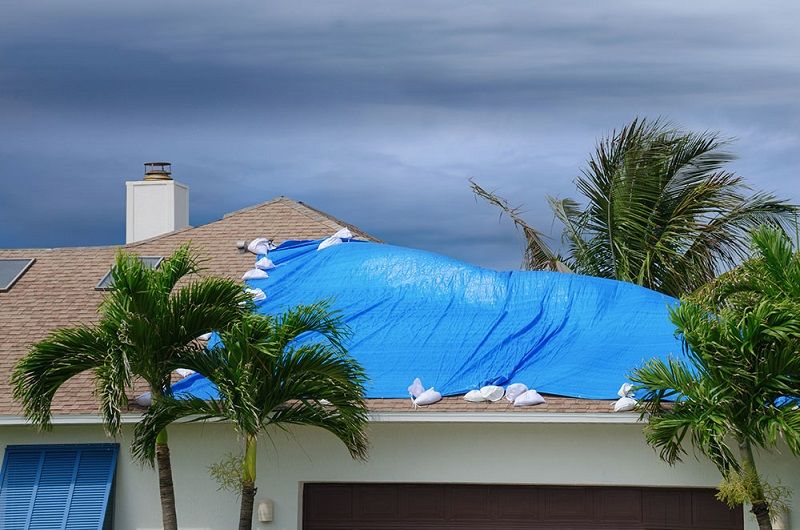
Partially unroll or unfold enough of the tarp to cover the leaking section of the roof from eaves to peak with an additional 4 feet on each end.
Shop the tools and materials used in this video.
Learn how to tarp your roof and protect your house before or after a storm.
Pulling the tarp tight around the edges apply 1 3 strapping with deck screws every 8 to 12 making sure you have one within 2 to 3 of each edge.
Tarping a roof basically what you want to do is cover the damage with a woven plastic tarp that is held in place with 2 x 4 wood strips.
This will prevent water and debris from entering the damaged area.
Then fold the excess tarp under a few rotations for a tight clean fit.
You want to get long 3 inch nails to get plenty of bite into the roof s sheathing and still be able to bend an upper portion of them to secure the tarp.
Never walk on the tarp itself.
The screws must pass securely into the roof.
Secure the ladder to the eaves before you climb onto the roof.
To secure a tarp to your roof.
Lay more 2 by 4s on either side of the tarp and attach those as well for a tight well secured water barrier.
If you feel that the anchor boards aren t enough to secure the tarp to the roof or you see some areas that are loose you should act.
Fully secure your roof tarp to prevent flapping.
Screw the 2 by 4 directly into the roof to secure it.
Stretch a tarp flat on the roof.
You can damage the tarp or the tarp may cause you to slip.
Lay as many 2x4 38 x 89mm wooden boards across the tarp as you see necessary and screw them in with 2 inches 5 1 cm screws.
Extend the top edge of the tarp over the ridge of the roof.
If the ladder can move it can easily slip out from under you when you try to get back on it from the roof.
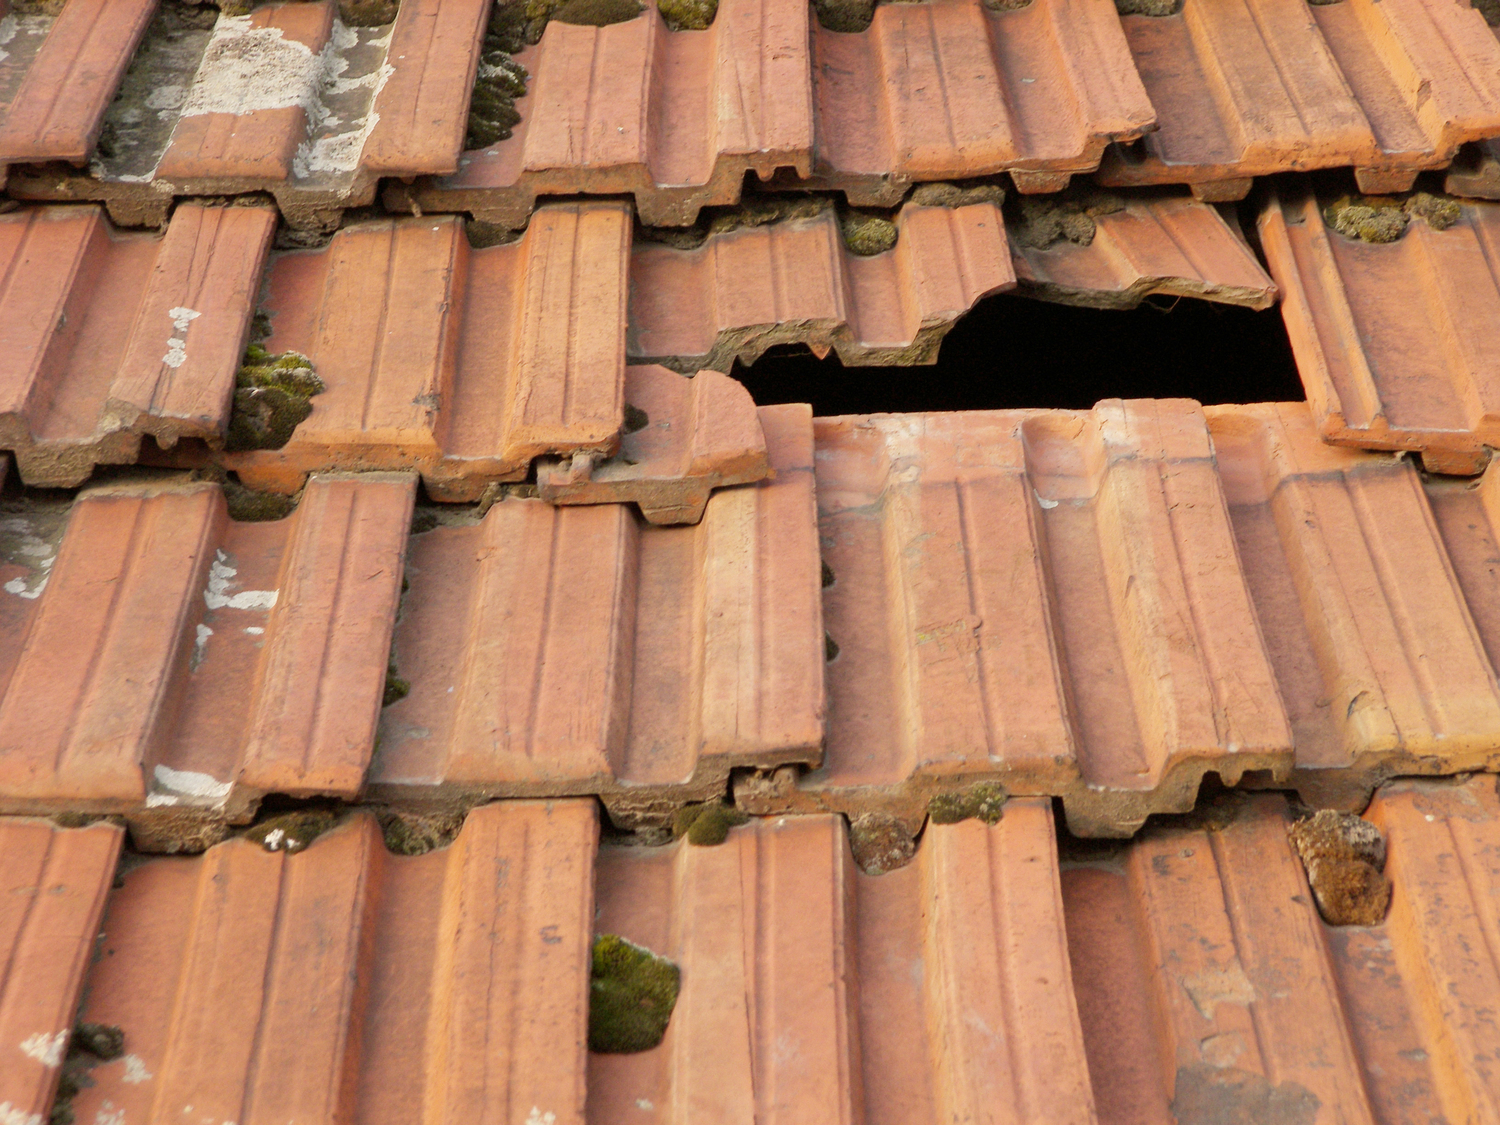
Find the source of the roof leak.
Don t forget to secure the strapping used in step 4.
Once every grommet has a bent nail in it add a dab of roofing tar into each grommet hole around the nail that penetrates the roof to protect against leaks.
Positions several 1 2 pieces of lumber on the tarp running vertically down the slope of the roof.
If you have ladder locks use them.